Getting started with MPC sound
This guide will show you how to get started with MPC Sound in no time. You will learn how to register and navigate the hardware connections this way. Also, check out Akai’s great quick start video series! Start by reading the sections below.
- Register the MPC One
- Hardware connections
- External storage
- Navigate the MPC One controls
- Q-Link knobs
Register the MPC One
First, you need to create an Akai account and register the MPC One. Registering your device gives you access to the MPC software, drivers, and a premium collection of sounds. After you have registered your device, continue with Setup and connections.
Sign in to your Akai account. If you have not created an account yet, you can create one here.
Click My Registered Products on the My Account page, enter the serial number on the bottom of your device, then click Register Product. The serial number starts with (21).
After you’ve completed your registration, you will see instructions on your screen.
Hardware connections
Once you register the MPC One with Akai, we’ll discuss the different kinds of connections available. You can connect external gear such as analog synths, MIDI devices, and even external hard drives. It depends on the gear you’re connecting whether you need to perform any additional setup.
Link
With this Ethernet connection, you can use Ableton Link, sync with other devices, and access sound samples from your Splice account. You will need to update the IP configuration on the MPC One and the settings in Ableton. For more information on Ableton Link, see the setup guide and FAQ. The MPC One manual provides detailed instructions on how to set it up.
USB
You can connect the MPC One to a computer via its USB-B port. Standard USB MIDI controllers can be connected to USB-A ports. If you need more disk space, you can connect a thumb drive or external hard drive. Backups are especially useful if you plan to load many custom samples or have a lot of projects. Find out more about external storage with the MPC One below.
Inputs
With the 1/4″ TRS inputs, you can connect audio devices such as a drum machine or synthesizer. If you have a 1/8″ to 1/4″ cable, you can also connect mobile devices to record samples. If you create an audio track, you can create a stereo track, a mono track, or a resampled (internally routed) track, which will record whatever comes out of the outputs.
MIDI
Via five-pin MIDI cables, you can connect an external controller or drum machine to MIDI ports. You can assign the keys/pads of your MIDI controller to the MPC One once it is connected. Additionally, it has a MIDI learn function, which is particularly helpful in live applications if, for example, you wish to control a filter on the fly.
CV/Gate
With these connections, you can send analog control messages to external synthesizers and sequencers. Press the MIDI tab on the touchscreen to enable the CV outputs. By pressing CV, you can select the CV output your device is connected to.
CV outputs accept 1/8″ (3.5mm) TRS cables. Mono 1/8″ (3.5mm) TS cables are also supported.
External storage
The MPC One has a capacity of 2GB for user data, but you can add additional storage by using a USB thumb drive, an external hard drive, or an SD or SDHC card. It is recommended that you format the external storage device to exFAT. Additionally, you can format it in FAT32, NTFS, EXT4, or HFS+. Check out our articles on externally formatting devices on PC and Mac if this is your first time.
Navigating the MPC One controls
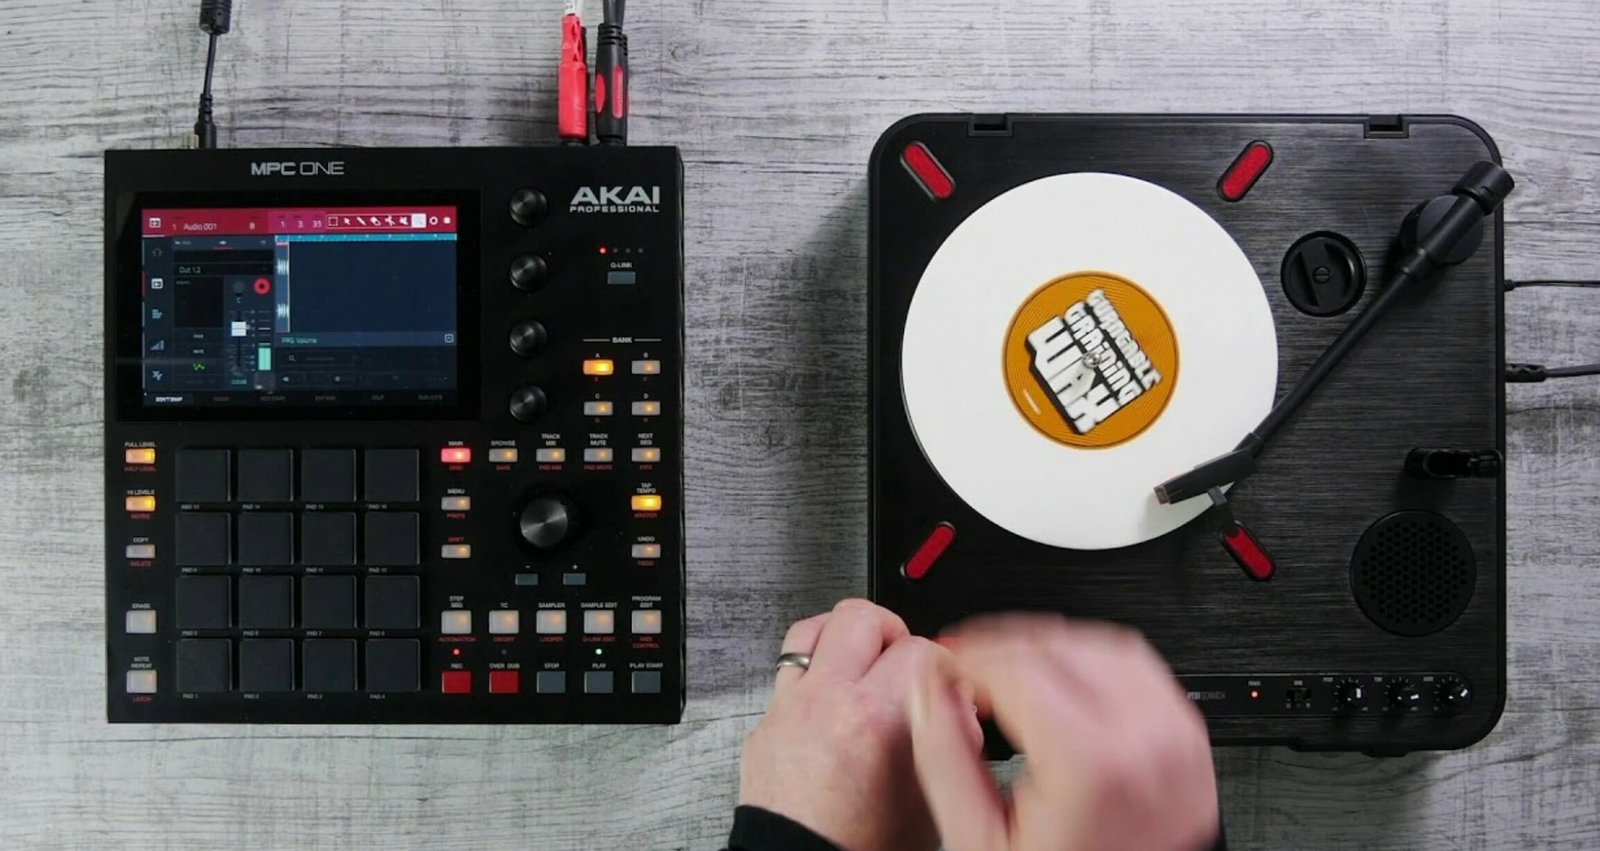
MPC One offers plenty of controls for navigating the hardware, as well as the MPC DAW software. Each button permits you to access specific menus. When the Shift button is held down, both of these buttons give you even more choices. For a deeper understanding of which buttons control which Menu, consult the MPC One manual.
What are Q-Link knobs?
The Q-Link knobs are located to the right of the touchscreen. You can assign each knob to control pretty much any macro-control you like. Q-Link knobs also control parameters such as changing the tempo, scrubbing tracks, and adjusting the level of selected programs.
- Press the Sample Edit button while holding the Shift key to create four banks of custom knobs.
- Q-Link lets you switch between banks
- You can edit Q-Link parameter assignments on the touchscreen by going to Menu and selecting Q-Link Edit.








Leave a Reply